

How to sew on a button in a few simple steps
How to sew on a button in a few simple steps
Knowing how to run up on a push button can save a lot of frustration, non to mention money. If a push has just popped off your favorite glaze or shirt, then there'southward no sense in throwing it away. It tin easily be repaired and y'all really don't need a professional to practise this — sewing on a button takes minutes once you've got the method down.
Here, we will take y'all through exactly what to do step-past-step. So whether you're a novice, or haven't sewn in a while, y'all can tackle this chore with conviction. You might already have what you need at domicile — so don't put it off and don't throw information technology away. Hither's how to stitch on a button.
- Check out how to tie a bow tie
- Here'south how to clean a hat without ruining the shape
How to stitch on a button
What you'll need
Needle
Thread
Scissors
Push
ane. The traditional 2 or four-hole button can exist refitted in a few unproblematic steps, but before you do annihilation, make sure you're under a skillful source of light then yous can encounter what you're doing clearly.
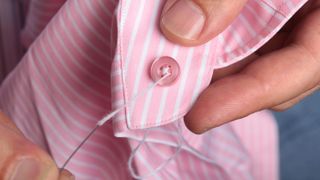
2. If you're removing and replacing a button, first cutting the button costless using your scissors. Be sure to pull the button taut from the cloth every bit you do and so cut as shut to the button equally possible. This prevents you from accidentally damaging the material. Don't force the button free if it doesn't immediately come loose — just go along snipping at the thread. In one case free, pick off the remaining thread from both the button and material. Now you're ready to reattach it.
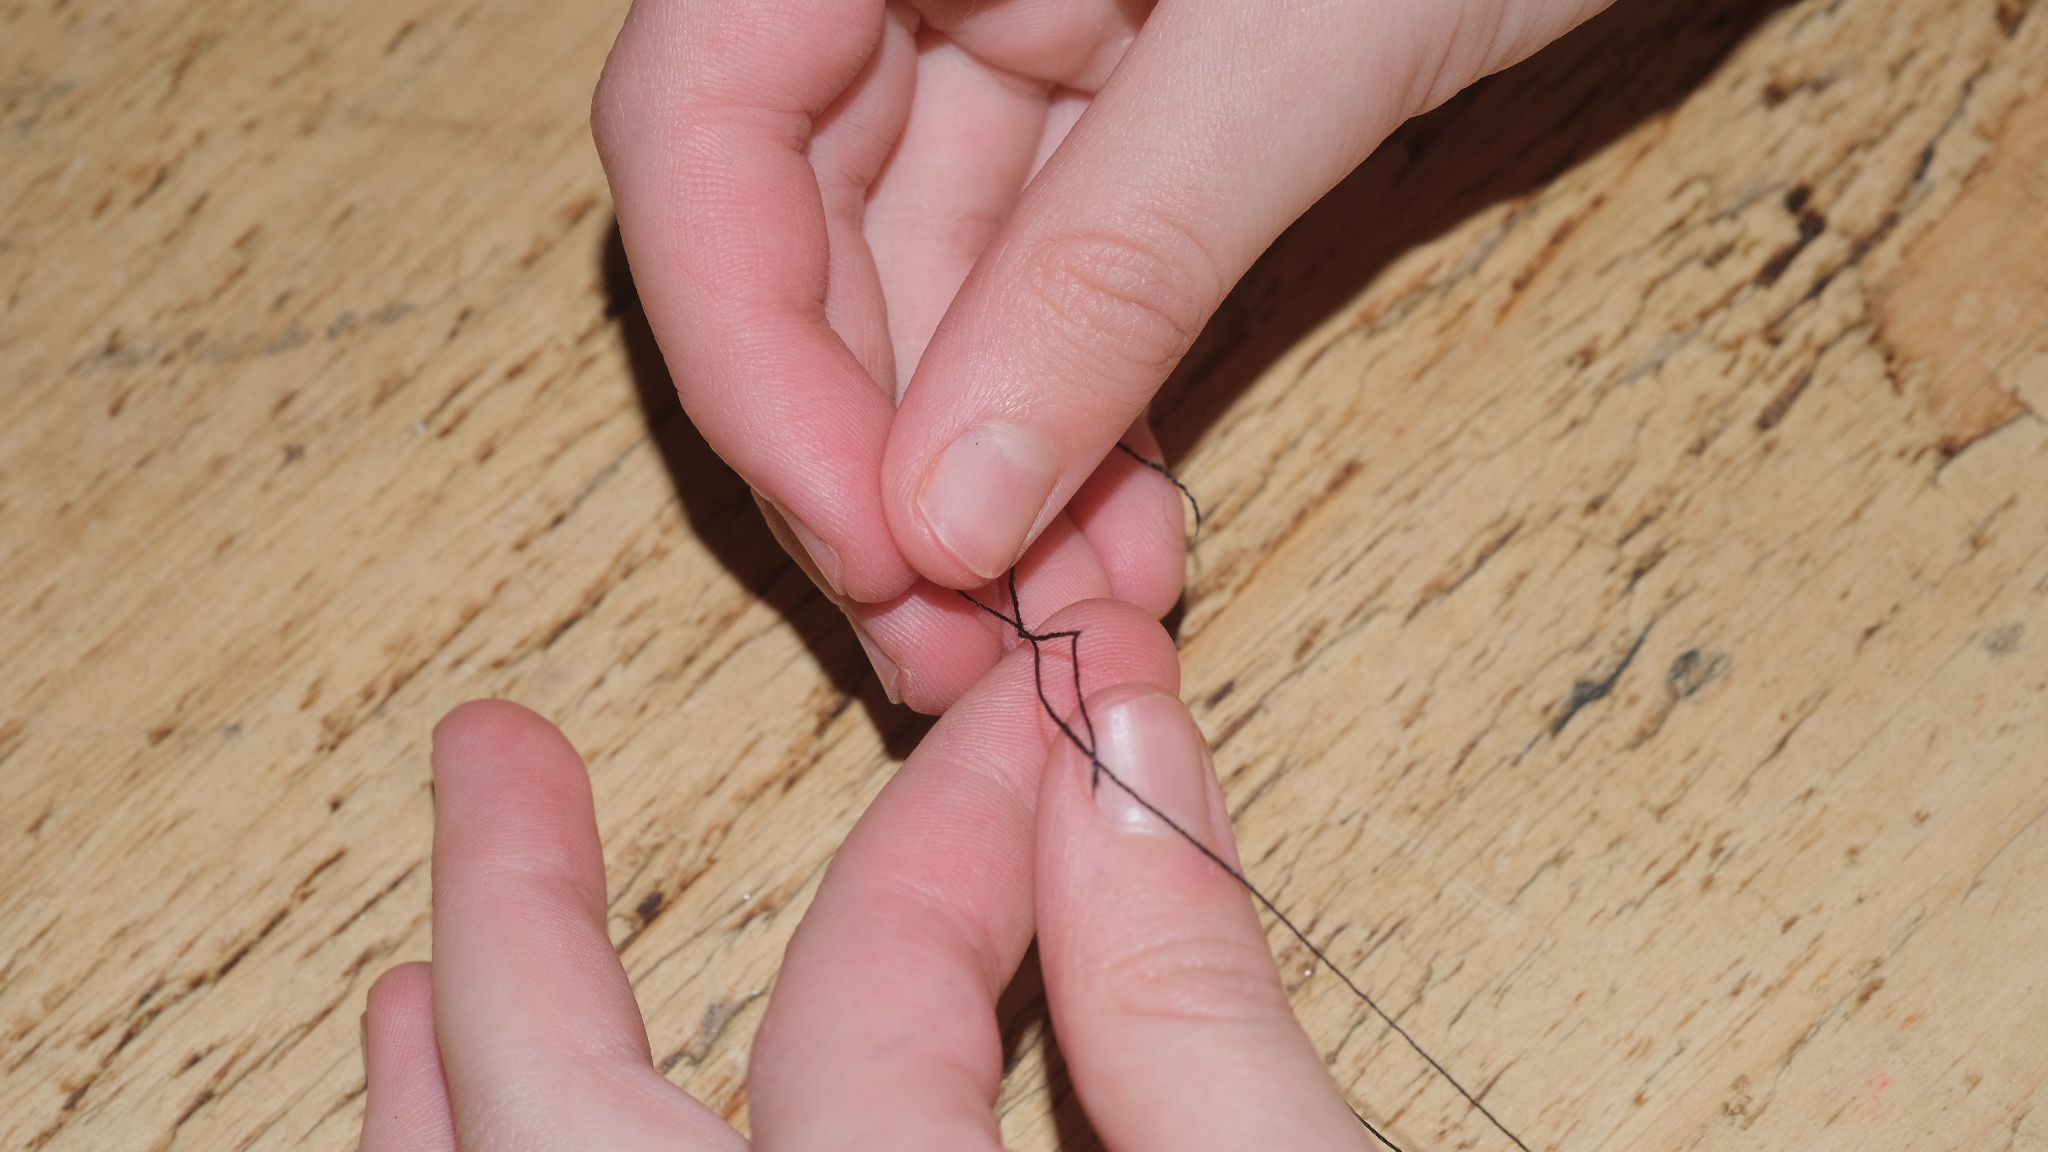
3. The outset stride is to thread your needle. Cut off ii strands of about 24 inches of thread, then align them together. It's important to use two stands rather than ane as this gives it more force, and will ultimately make your button more secure.
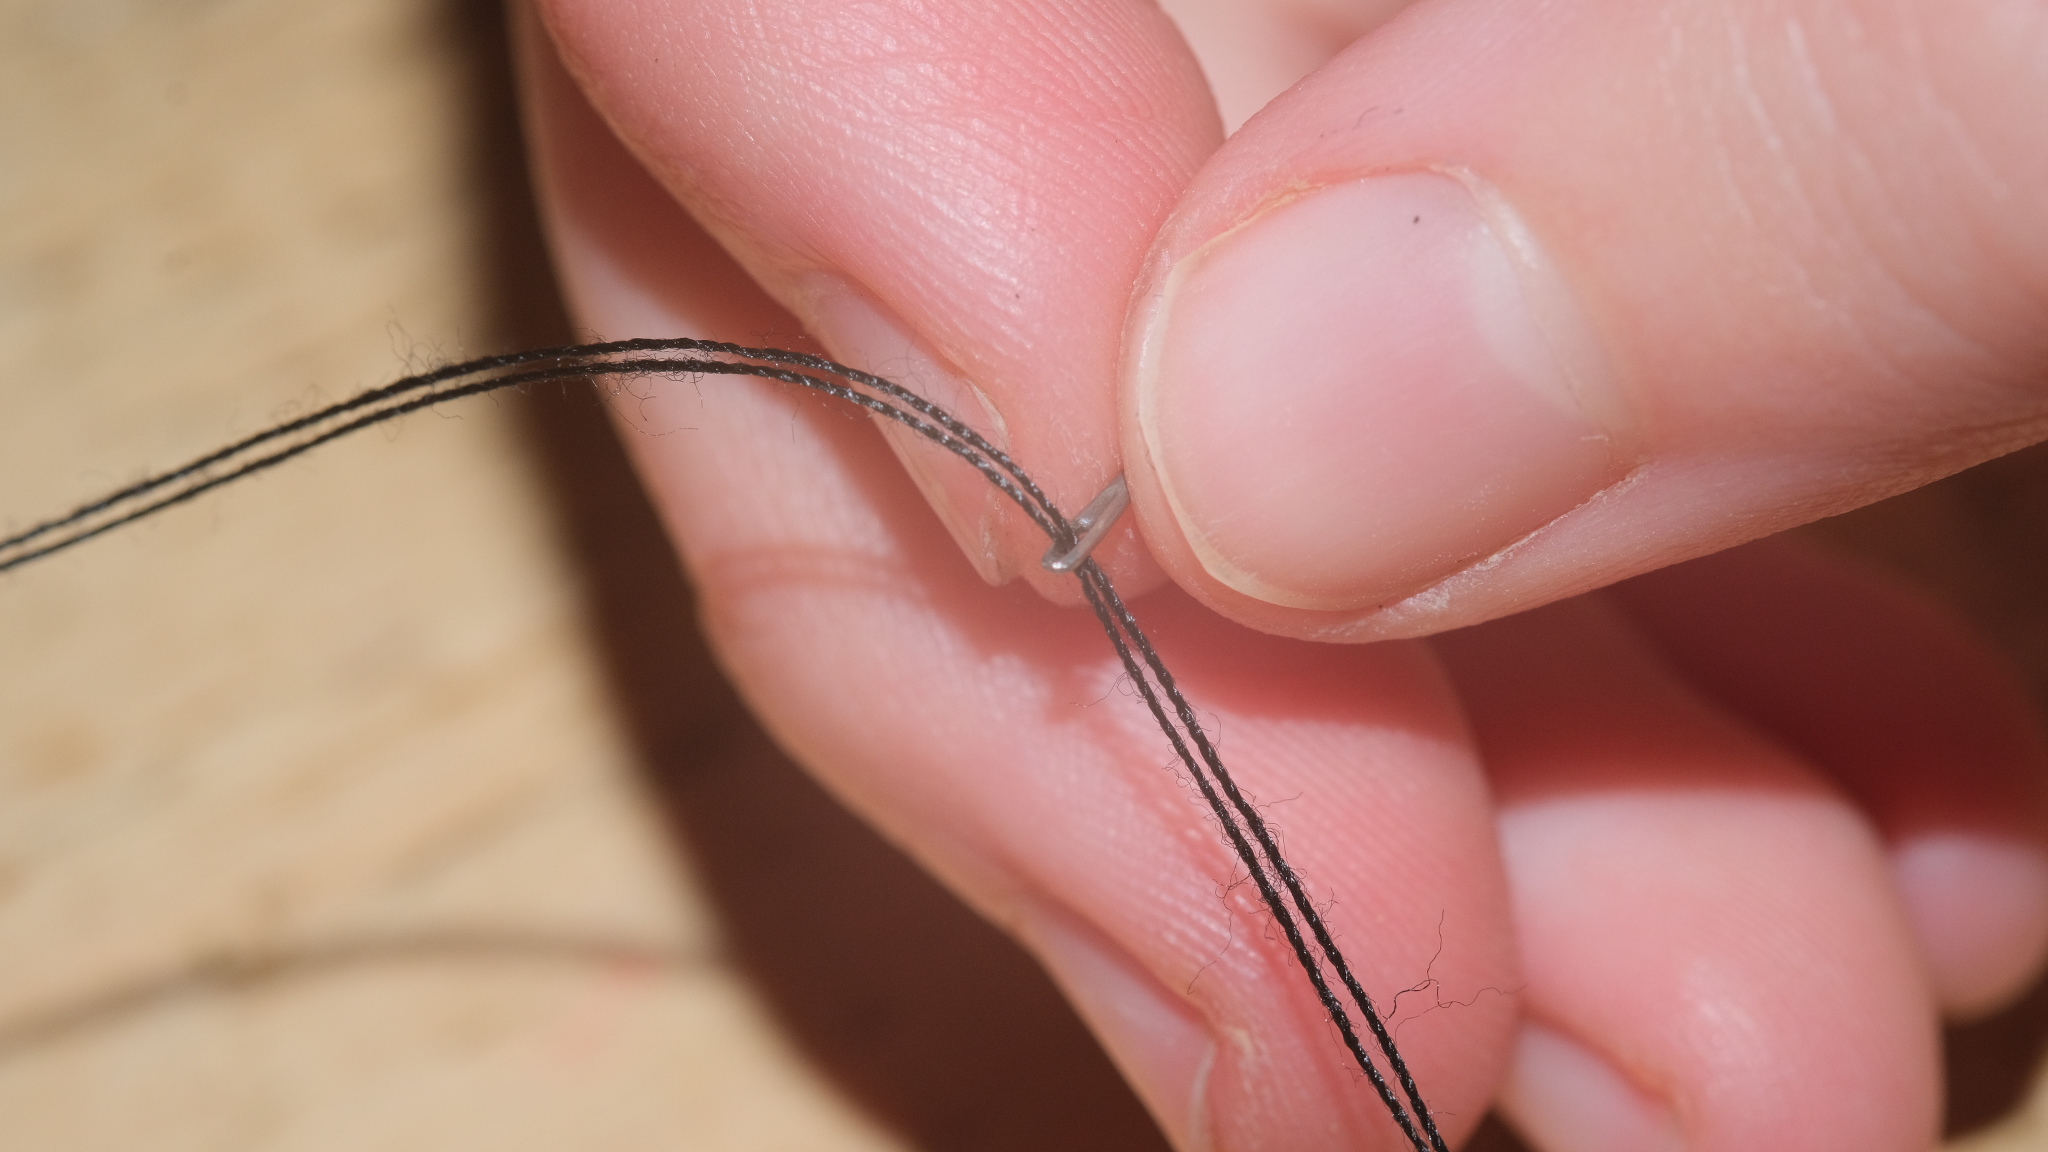
iv. So, tie a knot at one stop of the two stands. This acts as your 'anchor' so the thread won't pull loose equally y'all sew together. Y'all essentially want the knot big enough so it won't pull through — one knot is unremarkably plenty, but yous can double information technology and tie another knot on top to be safe if you want. Then cut off the excess thread later on the knot and then it looks like your strands cease with a knot.
5. Thread the unknotted stop of the strands through your needle's middle. If you're struggling with this part, I sometimes notice it helpful to dampen the ends of the thread to seal them together before threading.
vi. Pull the thread through the needle until the strand is nearly one-half way downward to the knot. You might also want to adjust the strands so both are taut and fifty-fifty. If one is looser than the other, you can finish upward with bulging strands equally yous sew.
seven. At present the needle is thread, you need to set up to stitch your button. Identify your textile down and work out exactly where the button should become. You tin can do this by simulating it beingness buttoned upwards.
viii. Marker this position by bringing your needle upwardly through the fabric, from the underneath to the outer layer, and create a tiny 'ten'. This not simply marks where the button volition be, but it also reinforces the anchor. To create the '10', you need to thread the needle up and down in a single diagonal pattern. Remember to proceed it smaller than your button — y'all don't want to run across it once everything is said and washed.
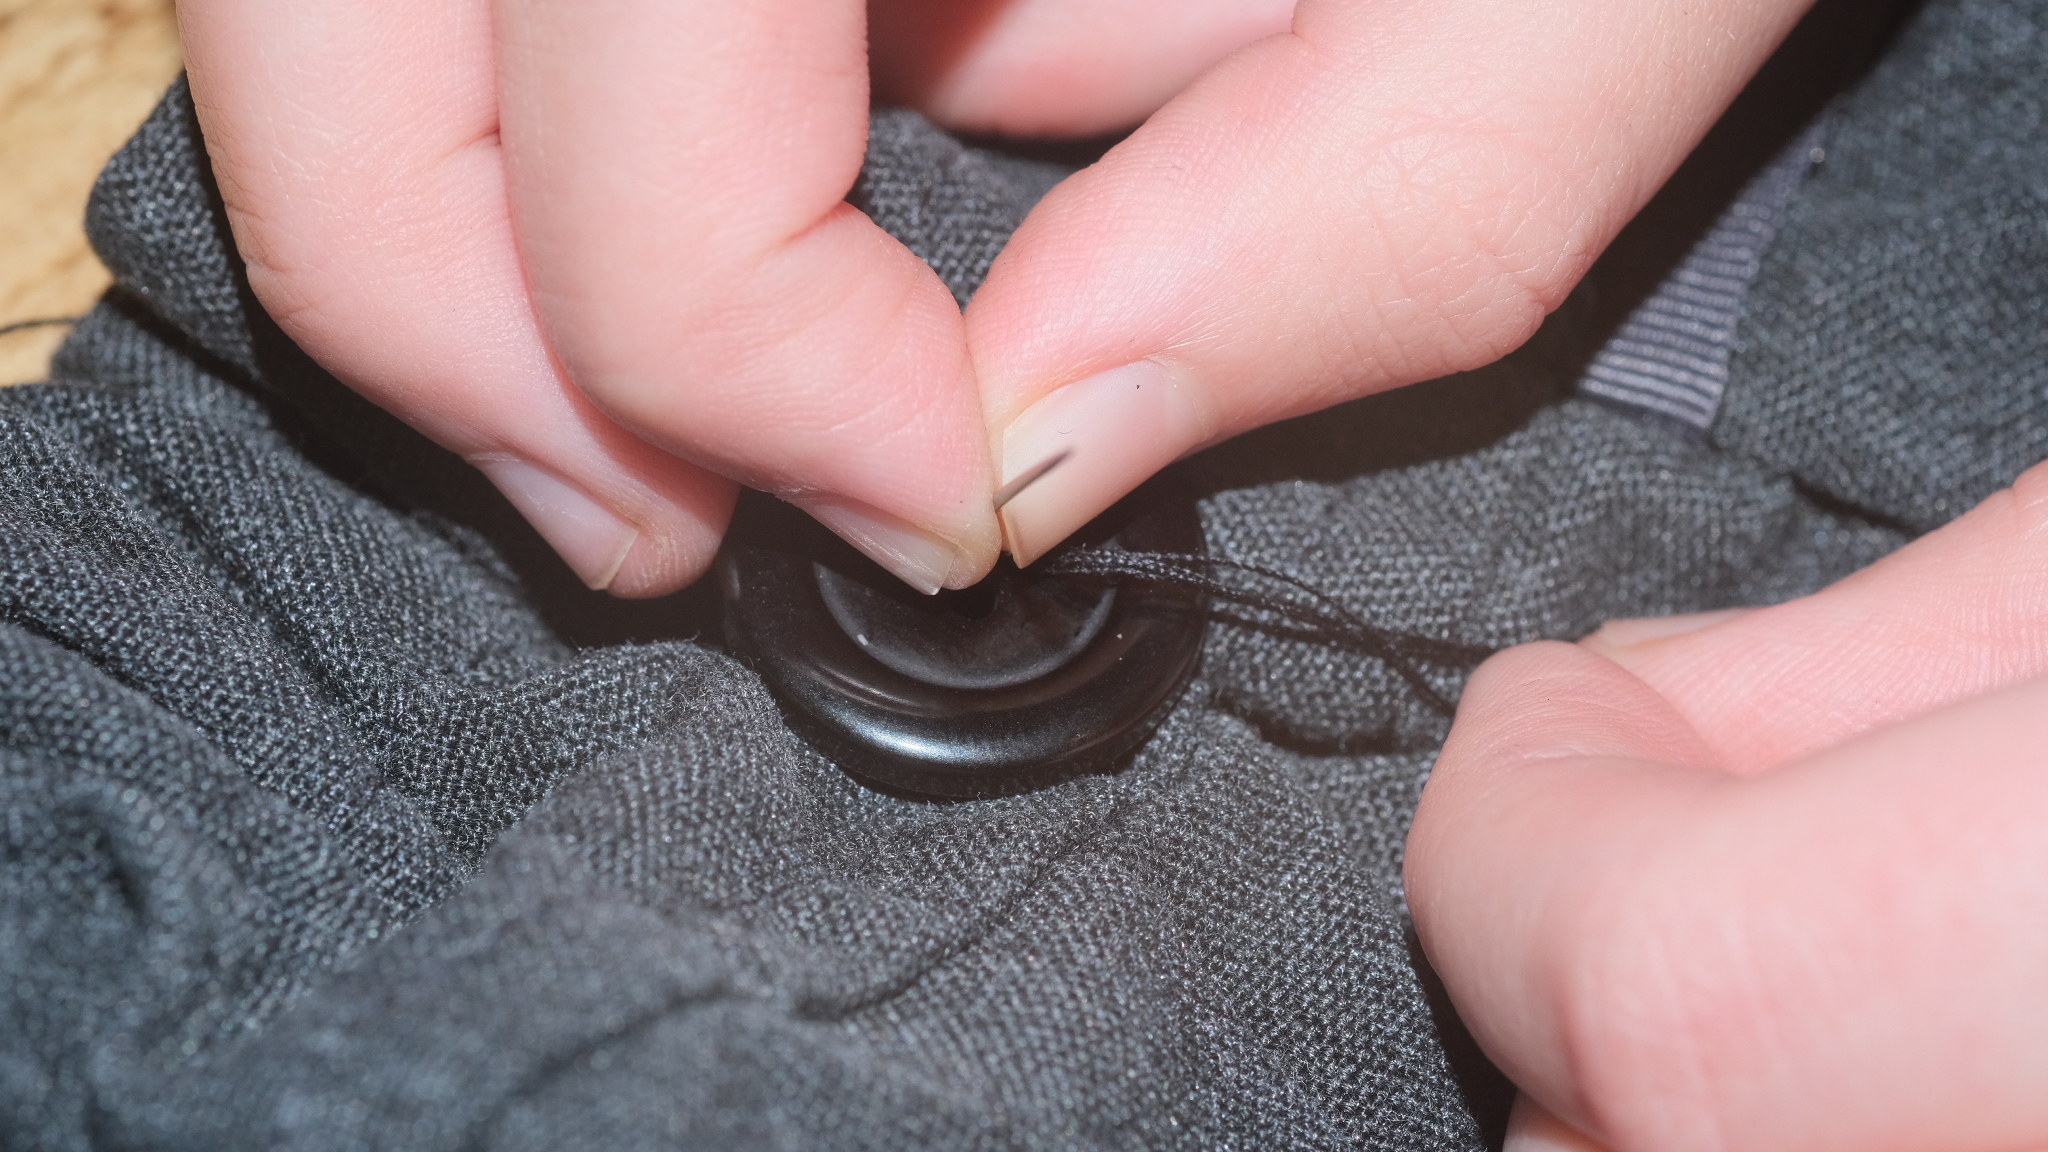
nine. Place your button on the 'x' and hold it in place with your finger, then bring your needle up through one of the push's holes from the underside of the fabric — information technology doesn't matter which hole. Sentry your fingers aren't covering any of the holes at this stage.
x. Then, while keeping the button in position, bring the needle and thread back downward through the opposite diagonal hole. If you're replacing a ii-pigsty button, simply utilize the contrary pigsty. Pull it taut and y'all should have a single diagonal thread holding your push button in place. Repeat this step iii times, until the thread looks much thicker on the push. If you're using a two-pigsty push, repeat information technology five times and skip to footstep 12.
11. At present you desire to use the exact same method on the remaining two button holes, crossing over the top of your first thread. Remember to keep pulling taut afterwards each thread. Your button should now wait equally good as new, you just need to brand the finishing touches and secure information technology.
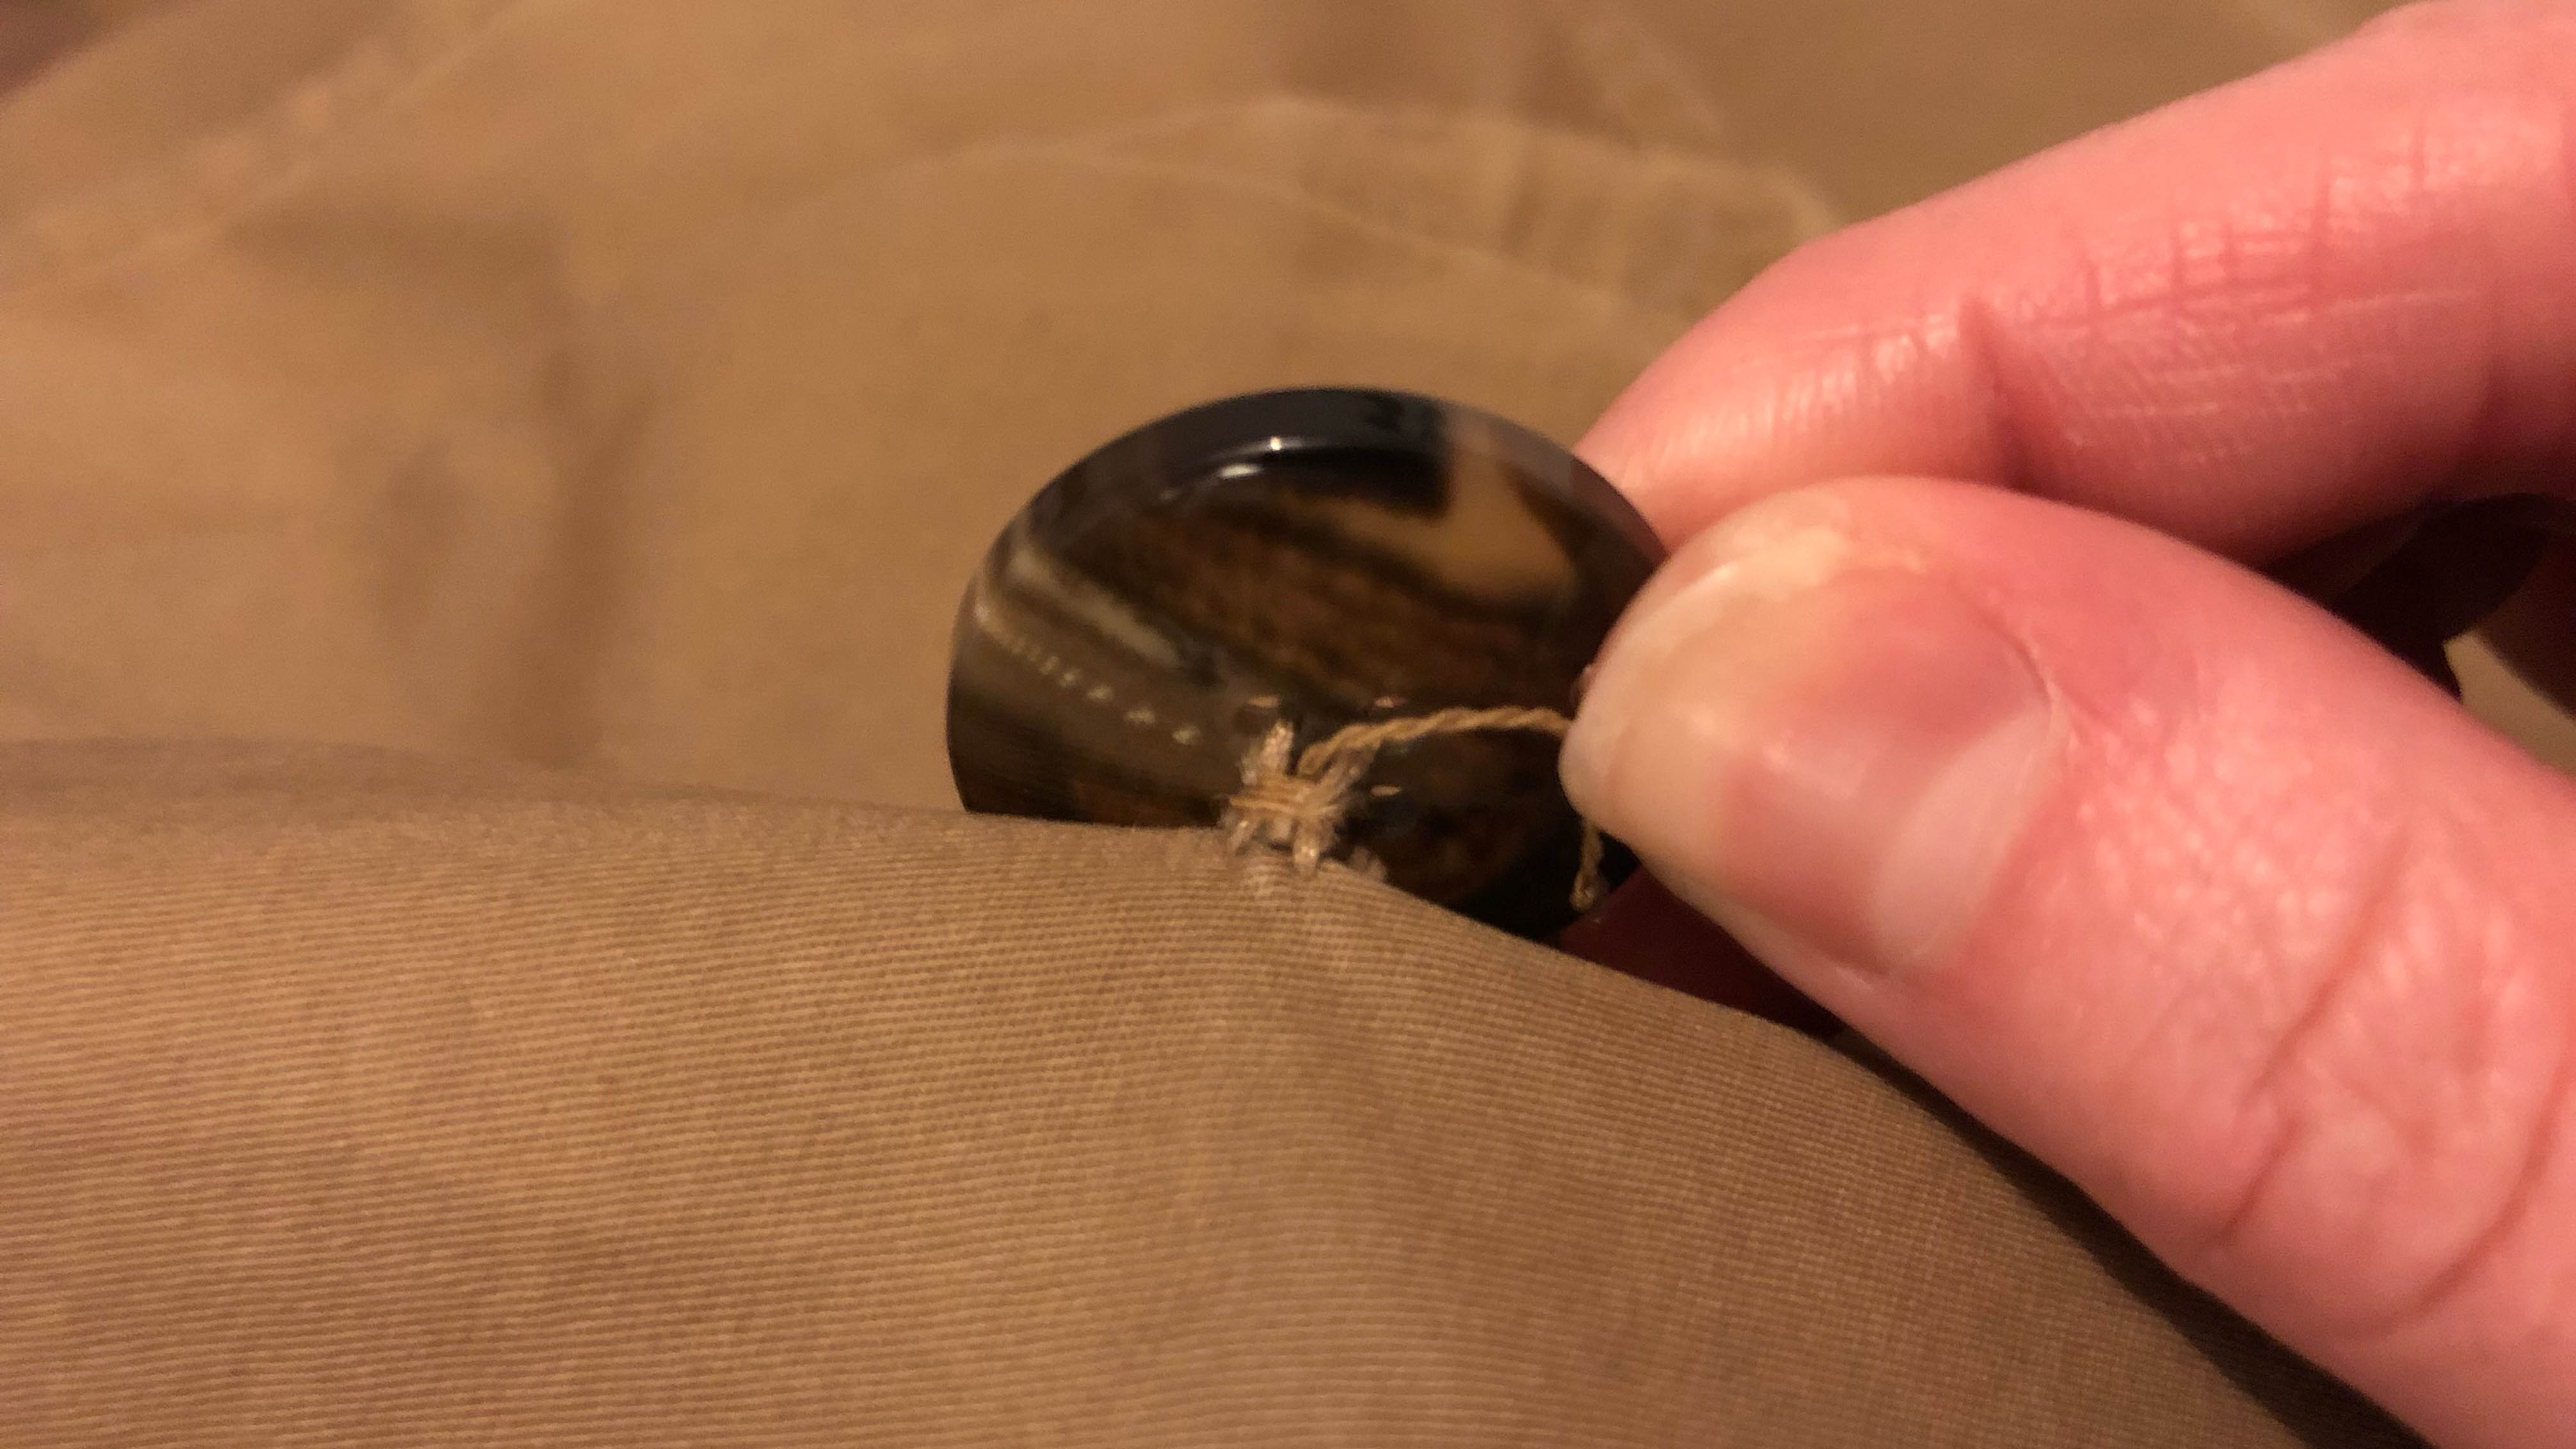
12. If your material is particularly thick, or if your push needs a trivial more room when being fastened, you can create a shank. If you're not sure yous can cheque the other buttons to see if they have this. Information technology's essentially thread wrapped around the underside of the push betwixt it and the fabric — it gives a flake of added space between the two.
thirteen. If you want to add a shank, simply bring your needle up, as if you were near to come through 1 of the button's holes, but before y'all meet the button, bring your needle out to the side and then you lot miss information technology. Your thread should now exist on the outer side betwixt the button and cloth.
fourteen. Now wrap the thread around the base of the button three times, before threading it back to the underside; this creates a shank.
fifteen. The final pace is to secure the thread. To do this, squeeze your needle under 1 of the newly sewn stitches on the underside and pull it through, but don't pull information technology taut just nonetheless. Pull it through until yous've got a small loop, then pass your needle through this loop and pull it tight. Do this ii to three times to make sure information technology's secure.
xvi. Finally, cut your needle and thread free, being conscientious not to impairment what you've but sewn. At that place you have it, yous've sewn a button.
TIP — It's always a adept thought to relieve rogue buttons, even if you lot don't know what they vest to. Buttons can sometimes come loose while you're out and about, and one of your one-time buttons might be a good fit for a replacement.

Source: https://www.tomsguide.com/how-to/how-to-sew-on-a-button
Posted by: romanodonve1938.blogspot.com
0 Response to "How to sew on a button in a few simple steps"
Post a Comment